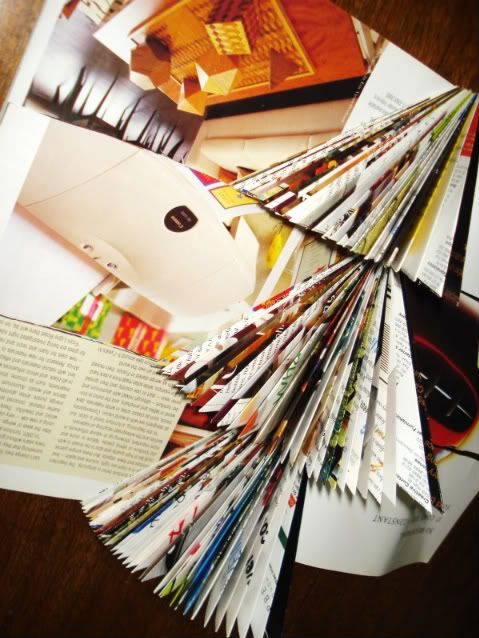
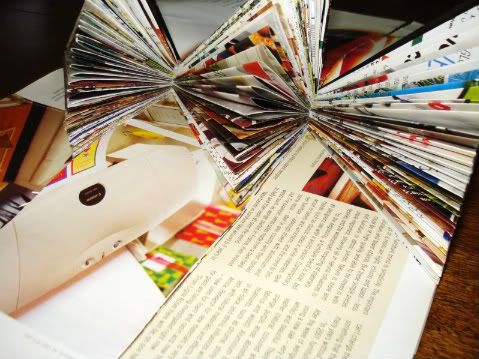
I was feeling a bit creative & Christmas-y as i was flicking through the xmas issue of Inside Out and noticed this!
By 'this' I'm referring to the hand made tree made from recycled magazines by Edit. It took me back to primary school when we made this for craft time! Instead of buying one for (a ridiculous) 65 bucks i decided to make one myself.


DIY Mag Tree
- Pick a magazine with colours that will suit your room theme. For example i used an old 'HOME' magazine because its full of natural tones and lovely blues & greens. Choose a magazine you like because it will most likely have the colours you prefer. If you wanted something bright choose a younger magazine or if you want a plain tree choose one with mainly writing.
- Measure out three horizontal panels on the front. If you like you can make the top panel smaller than the bottom two but you might have to do a little maths and trial and error. It sometimes just doesn't work.
- Next cut along the lines. If you want you can just cut as you go.
- Now to the folding. Each panel is folded the same. All you do is (spine facing away. one panel&page at a time) fold page in half and stick end of page into the spine. To make the triangle just fold the top corner down till it matches up to the bottom edge.
- Do this to all panels (it takes a while, no wonder they charge $65) till you've done them all.
- Last of all join the front and back cover together with tape and DONE!
I put mine up against a wall so i didn't do the last step but if you do you might need to do some bending and such.
Tips!
- if you want a lot of writing pages just turn you mag upside down (there's usually a lot of writing on the bottom of pages)
- Sticky tape the first couple of triangles to keep things together when you start. As you go along you wont need tape, all the pages pushed up against each other will hold it together.
- Choose a magazine with a lot of pages for a fuller tree


No comments:
Post a Comment
Go ahead, make me smile!
Leave a comment or a question and I'll try reply here or leave your blog.com and I'll visit you sometime.
Thank you dearest.